I've made this hat before (Fiber Trends #WP01), last year using Lamb's Pride Worsted in Lotus Pink. It's looking somewhat the worse for wear (I really don't take as good care as I might), so I figure it's time to make another iteration. This year the wool is the Wool Pak Yarns NZ 14 ply (Cherry Hill Yarns Shade HP11 Winterberry. I bought this yarn years ago, and stuck it away. It was another case of "it's so beautiful/expensive I'd hate to ruin it by using it." Hat was made in a weekend (some car and folks visiting knitting) using size 11 needles.
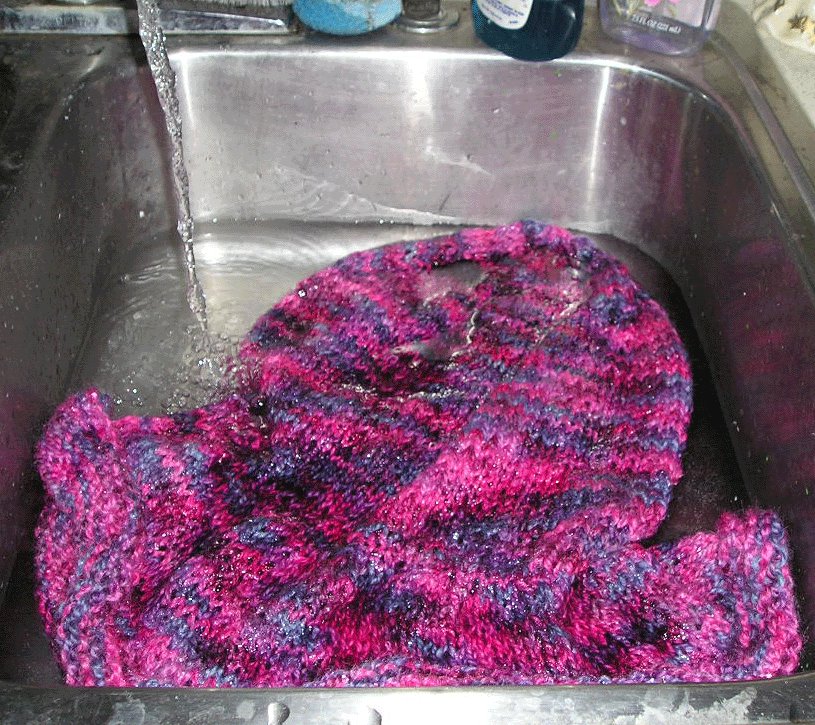
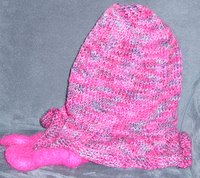
Here's the hat pre-felting process, as modeled by Stanley, and in the sink. A double sink is a great tool for felting as it allows you to have hot water on one side, cold on the other and just flip back and forth between. The felting method this time was about 10 minutes of rub with soap and abuse the project in the hot, dunk in the cold, abuse in the hot, dunk in the cold, transfer to the dryer with a wet towel for a total of a half-hour, with quarter hour check, and then back into the sink with the major work done, for another half hour of hot/cold abuse.
Abuse: Take the woolen object and rub it against itself. I find if I put my palms each on a side of the object and then rub them together, move slightly along the object and rub more, shift again and rub more, that works pretty well. Keep it in the hot (keep water level relatively low, and watch for splashing) and just rub it against itself. A little soap applied directly to the object helps. Be prepared to feel fiber coming off (wet lint) to a certain degree. It won't look like progress so much in the early stages, but in the later stages you can feel the fabric change under your hands as it hits the cold. It will sort of seize, and in the later stages you can feel it getting thicker. You will find it harder to manipulate (i.e., won't be quite so easy to turn inside out) as the process goes on. Be prepared for tired arms. Persuade onlookers it's not at all like painting fences, really, and they should try it too!

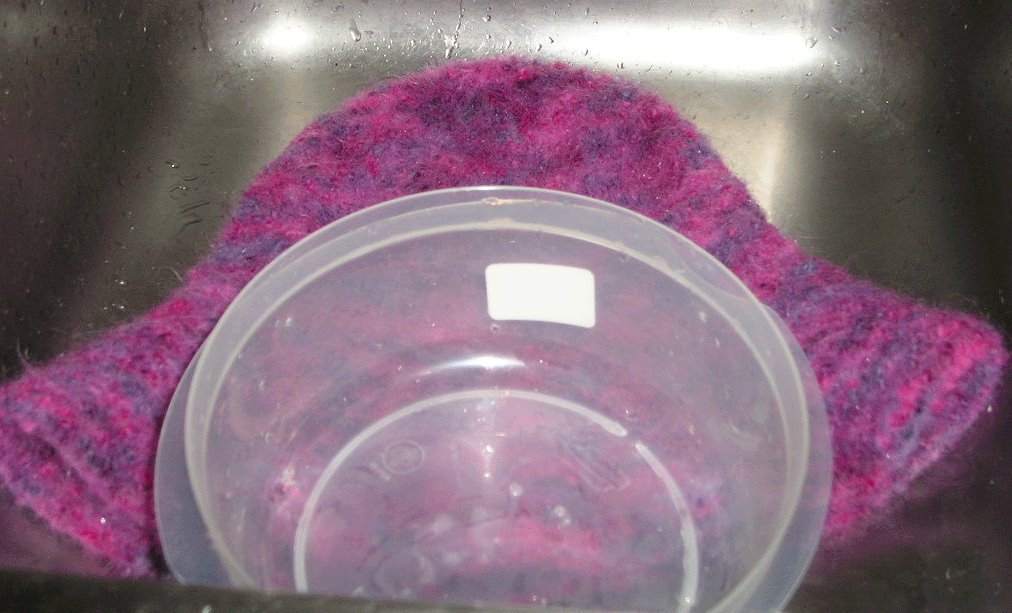
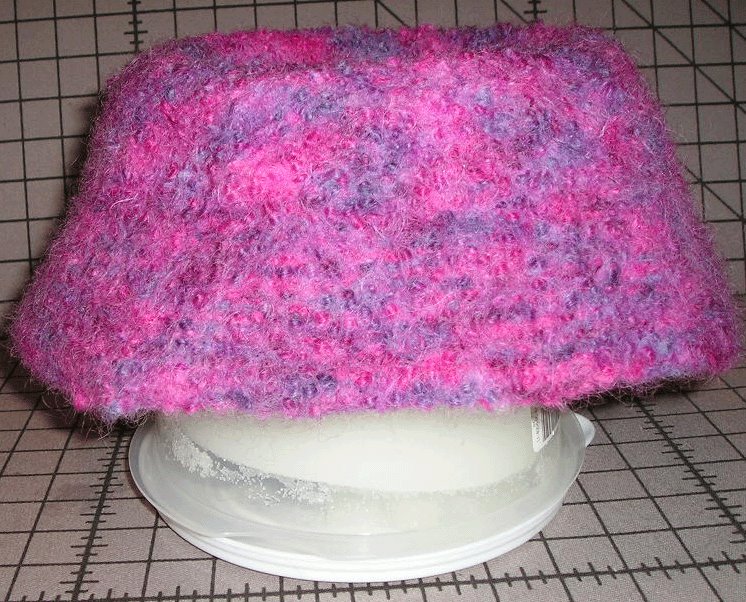
Here it is fairly late in the process, along with the blocking item. It's a Rubbermaid lid size C, 1.6 quart/1.5 liter round container. I block it on the inside, and let the brim drape over the outside, so the thing that sticks out the sides doesn't get in the way.
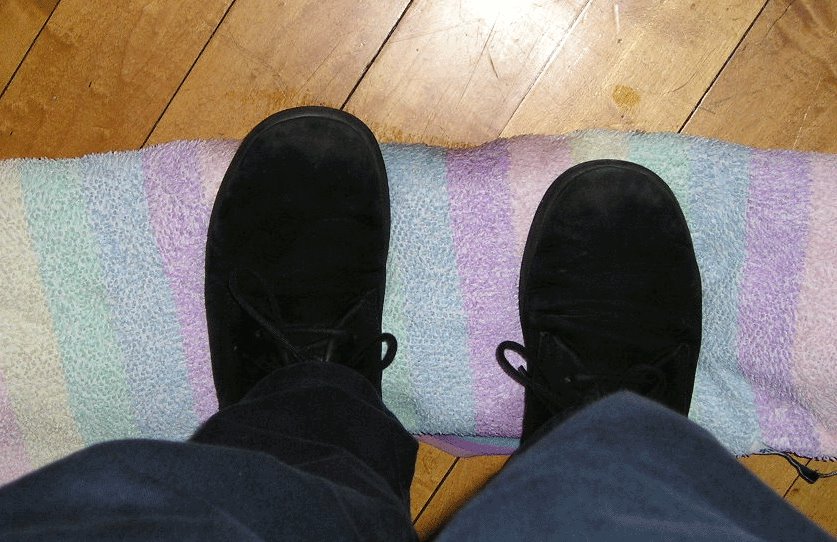
Before you put it to blocking, though, get as much water out as possible. I'm fond of the roll it in a towel and step on the towel to squeeze it all out method.

 Felting is always a gamble, and I'm wondering about the final outcome of this one. The hat circumference feels small, but the length is definitely too long. I'm letting it dry for now, will try it on (maybe the length will be taken up with the brim, but I'm doubtful), and can always start the process again. You want the hat to be slightly tight in order to stay on, but move the barrettes tight is out.
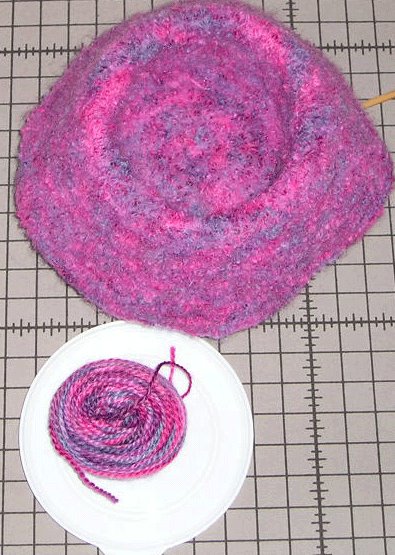
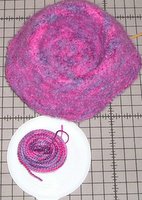
To the left the top-down look, showing how the felted colors have muted and melted together, compared to what's left of the original 250 gr (310 yards) skein.
To the right the side view of the blocking rig. The second rubber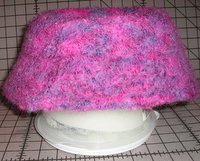 maid container (the one with my salt/oil handrub) is there to keep the sides from scrunching up against the blocking board and warping themselves. Told you the sides were long.

 I've made this hat before (Fiber Trends #WP01), last year using Lamb's Pride Worsted in Lotus Pink. It's looking somewhat the worse for wear (I really don't take as good care as I might), so I figure it's time to make another iteration. This year the wool is the Wool Pak Yarns NZ 14 ply (Cherry Hill Yarns Shade HP11 Winterberry. I bought this yarn years ago, and stuck it away. It was another case of "it's so beautiful/expensive I'd hate to ruin it by using it." Hat was made in a weekend (some car and folks visiting knitting) using size 11 needles.